
The tutorial I will be using today is by Lara Hill and it is the easiest and quickest way (that I have found) to depot MAC eyeshadows. Best of all, with a couple of extra steps, this technique can also be used to depot cream blushers, cream colour bases and cream or powder foundation products.
What You'll Need:
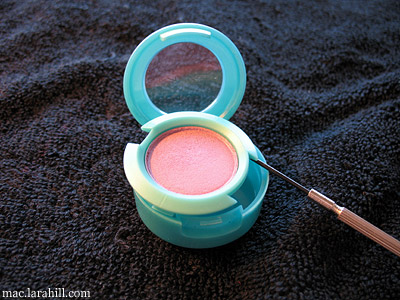
-MAC eyeshadow pot
-Hand towel
-Small flat-head screwdriver or a similar strong, small knife
-Iron set on hot and with steam turned off (to avoid an accidental steaming of your fingers)
-Wax paper
-Labeling items (blank magnet, scissors)

Directions:
1) Using the tip of your screwdriver/knife, carefully work it underneath the lip of the shroud. It's easiest to do this at the front of the pot where the lid latches closed. Apply enough pressure to make the shroud pop clear, then put the pot aside.
2) Flip the eyeshadow so it lays shadow-side down down onto your hand towel, lay the wax paper over the top and rest a hot iron over that. In thirty seconds or so, lift the iron and check the paper - if the plastic pot underneath is starting to stick slightly to the paper, it's time to remove the eyeshadow.

3) Flip the eyeshadow over and gently work your screwdriver/knife between the eyeshadow pan and the black plastic shroud and give it a wiggle. If the eyeshadow moves with gentle pressure, it's ready to be removed. If you have to force it at all, the glue is still solid and it needs to be heated further. If the glue is suitably melted, gently work the tip of your screwdriver/knife under the pan and wiggle it from side to side until the glue gives way and the eyeshadow pan lifts free. Don't force it in any way, as the pan itself may bend and weaken or shatter the eyeshadow itself. When in doubt, apply more heat.

4) And now for the label. I prefer to keep the pot sticker attached to the pan itself so that when you reorganize your palettes you can keep all the information handy. Lay the eyeshadow pot with the domed side down and cover it with wax paper. Apply enough heat with the iron to soften the glue on the sticker without melting the plastic pot.

5) Carefully peel it away and apply it to a blank magnet, then trim to size. Attach the magnet to the existing sticky glue on the underside of the pan and put the pan into your palette of choice.

6) Yay! One depotted, labeled and stored eyeshadow!

*Side Note: If you are an avid MAC product buyer (like myself), make sure that you save all of your containers! They have a recycling program and for every 6 empty containers you turn in (mascara tube, eyeshadow pot, lipstick container, lipgloss tube, blusher pan, etc.) you get a free lipstick of your choice! Pretty sweet deal if you ask me.
No comments:
Post a Comment